Usage
This guide shows how to use Omni Print from within Odoo to print PDF/ZPL reports, PoS receipts, and kitchen slips via the client‑side app—covering printer selection, direct printing, cash‑drawer control, and optional client‑side PDF generation.
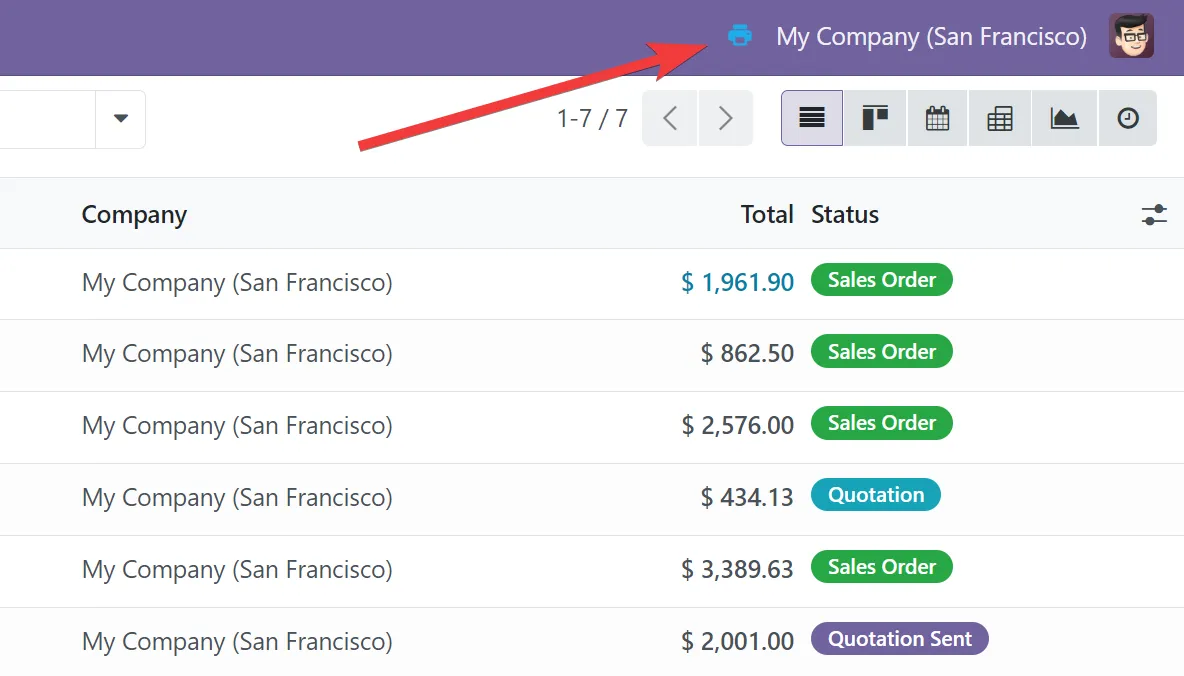
Check Connection Status
Section titled “Check Connection Status”Please make sure your Odoo instance has connected to Omni Print. You can check browser system tray for a blue printer icon.
Print Odoo reports
Section titled “Print Odoo reports”- Open a record or select multiple records (e.g., Sale Order, Invoice, Product Label) in Odoo.
- Click the Print menu and choose a report.
- On first use, select a printer in the client-side app dialog.
- Optionally check “Don’t popup again” to enable direct printing for this report.
Print PoS receipts and kitchen slips
Section titled “Print PoS receipts and kitchen slips”Print receipt
Section titled “Print receipt”- Configure PoS receipt printing settings in Odoo.
- Complete an order and click “Print Receipt”, or when “Automatic Receipt Printing” is enabled, the receipt will print automatically.
- If supported, enable “Enable Cash Drawer” to open the drawer on print.
Notes:
- For thermal printers, use the appropriate paper width (58mm/80mm) and DPI in the client-side app.
- Cash drawer control depends on your printer and cable compatibility.
Print kitchen slip
Section titled “Print kitchen slip”- Configure kitchen printers in your PoS, please check Kitchen Printer Settings.
- Click the “Order” button in the PoS to send the order to the kitchen printer via Omni Print.
Guidance:
- Use thermal/ESC/POS-capable printers for best results.
- Adjust width (58mm/80mm) and cutting/feeding preferences in the client-side app.
Client-side PDF Generation
Section titled “Client-side PDF Generation”If enabled in Odoo settings, Omni Print client-side app renders reports locally using a patched wkhtmltopdf and then prints them.
See the comparison between server-side generation and client-side generation below: